 Product Personaliser
Steps
- In Personaliser > Settings > Proof, Customers must approve a proof: No (default) or Yes. This is the shop default.
- On a product, Customer approves a proof can be Same as the shop, Required before checkout or Not asked for.
- Press Save settings or Update.
A proof applies to canvas products only; a form product never needs one.
What happens
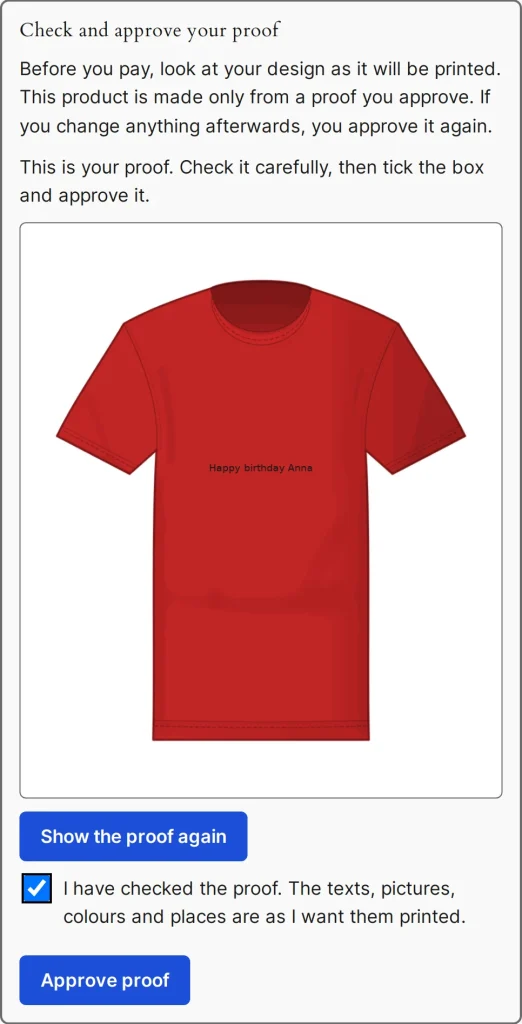
- Above the buy button the customer presses Show my proof and sees every used view as it will be printed.
- The customer ticks the check box and presses Approve proof. The picture (JPEG, PNG or WebP, up to 8 MB) is stored.
- Any change to the design cancels the approval. Checkout stops with a message naming the product if a line has no proof for its current design.
- The proof is kept with the order and attached to the shop's "New order" e-mail, never to the customer's e-mail. The order screen shows Approved proof.
- With quantities by option one approval covers all lines.
Example
A shop selling name plates requires proofs. A buyer sees the plate with the text in the chosen font, ticks the box, approves and pays. The workshop gets the approved picture with the order e-mail.
Related topics
Was this page helpful?
Report an errorApplies to version 0.1.0.